
Baking homemade bread is a culinary achievement that many of you strive to perfect. Every ingredient and tool utilized during the process must be carefully considered, from the type of flour to the baking method. One essential, yet often overlooked tool is the bread proofing basket or banneton. This article will provide you with comprehensive details on how to select a bread proofing basket that ensures your dough does not stick, leaving you with perfect, evenly baked loaves every time.
Understanding the Role of a Banneton in Baking
Before we delve into the nuances of selecting a proofing basket, let’s take a step back and understand its role in the bread-baking process. A banneton, or proofing basket, is a container used for the final proofing stage of bread baking. It is instrumental in maintaining the shape of the dough during the proofing, giving your bread a professional and consistent look.
This might interest you : How to Determine the Best Type of Cookware for Roasting Vegetables?
Primarily, these baskets come in two shapes, round and oval. The shape you select will ultimately depend on the type of bread you wish to bake. Round baskets are often used for boules or round bread, while oval baskets are perfect for longer loaves like baguettes.
The texture of the basket also plays a vital role. Bannetons are typically made of cane, which provides a slightly humid environment for the dough to rest in. This feature is crucial in preventing the dough from drying out during the lengthy proofing process.
Also read : What Is the Most Effective Natural Cleaning Solution for Degreasing Kitchen Appliances?
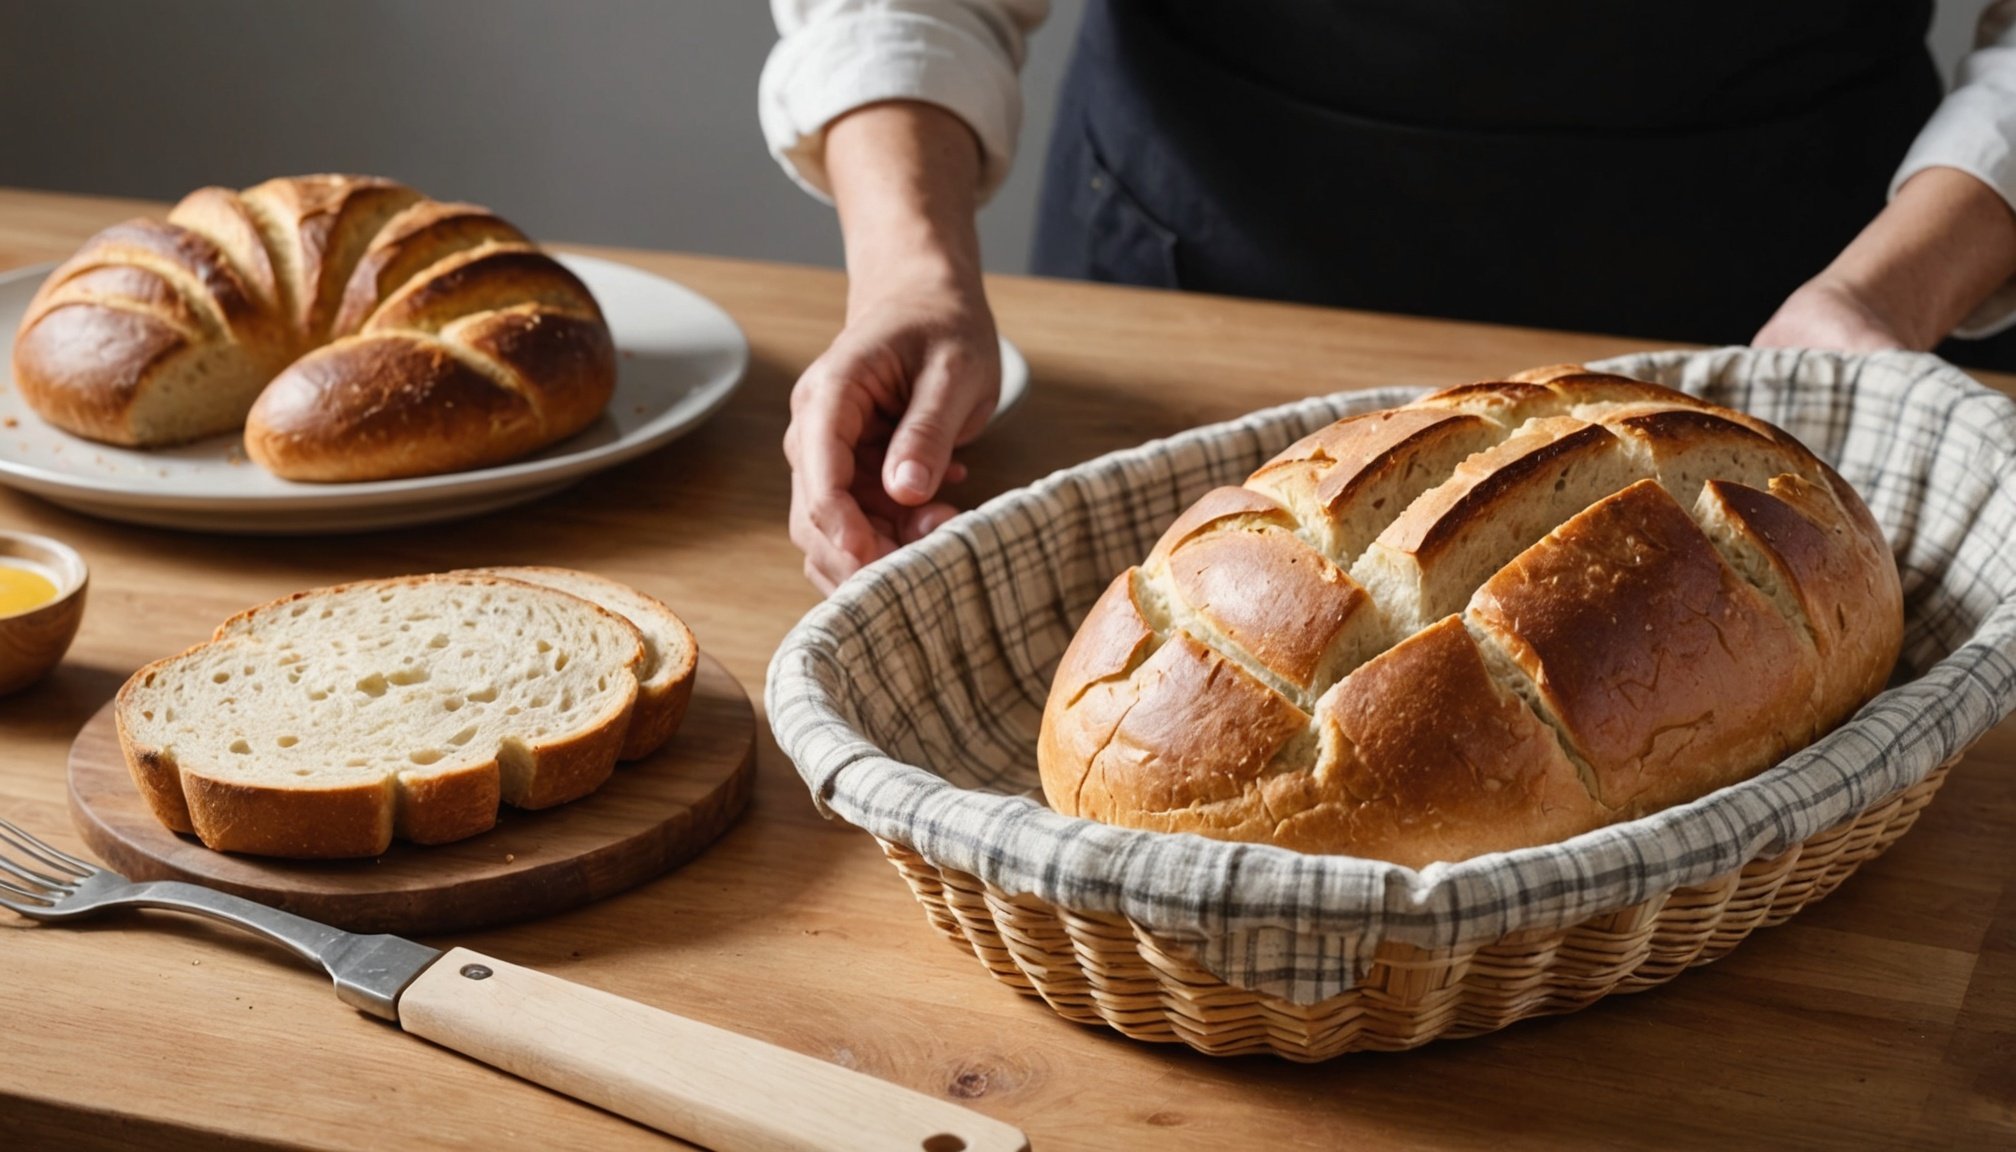
The Importance of a Liner in Preventing Stickiness
One common concern with using a banneton is the potential for the dough to stick to the basket. This is where a liner comes into play. Many proofing baskets come equipped with a liner, which is a thin cloth that lines the basket’s interior.
A liner creates a barrier between the dough and the basket, preventing any sticking. It also absorbs excess moisture from the dough, which can contribute to stickiness. The liner’s fabric is critical. It should be made of a natural material, like cotton or linen, that is breathable and absorbs moisture well.
However, the liner should not be overly absorbent as that could result in a dry crust. You should always ensure that the liner is clean and dry before using it to prevent the growth of bacteria or mold, which could affect the taste and safety of your bread.
Optimum Proofing Conditions for Best Results
Proper proofing is integral to the entire bread baking process. A well-proofed dough will result in a lighter, airier bread with an even crumb structure. The climate within your proofing basket can significantly impact this outcome.
Your banneton should offer a slightly warm and moist environment, which aids in yeast fermentation. Too much moisture, however, can lead to a sticky dough. A well-conditioned proofing basket will strike a balance by providing an ideal proofing condition without making the dough excessively moist or dry.
Maintaining a Proofing Basket
Maintenance is an under-discussed aspect of using a proofing basket that significantly affects its performance. Regular cleaning and appropriate storage conditions can reduce the likelihood of dough sticking to your basket.
After each use, remove any excess flour and dough from the basket and liner. You can use a stiff brush to clean the basket and wash the liner in warm, soapy water. Both should be thoroughly dried before storage to prevent mold or mildew growth.
Although the temptation might be to wash the banneton itself, it’s best to avoid this. The cane absorbs water and can become too moist, encouraging mold growth and making it more likely that dough will stick in the future.
The Art of Flour Dusting
Flour dusting is an art that can prevent sticking and add a beautiful pattern to your finished bread. The type of flour you choose for dusting can also influence how likely your dough is to stick. Rice flour is often recommended because of its fine texture and high-starch content, which helps prevent sticking.
To dust your banneton, lightly sprinkle flour over the surface and shake it around until the entire interior is covered. You can also dust the dough itself before placing it in the basket. This acts as an additional barrier between the dough and the basket, further preventing sticking.
Selecting the right bread proofing basket can be a game-changer in your bread-baking journey. Remember, the best proofing basket is one that is well-maintained, used with a suitable liner, and correctly dusted with flour. Only then, you can expect perfectly shaped loaves that slide out of the banneton without any sticking and are ready to be transferred to the oven. Happy baking!
Choosing the Right Material for Your Proofing Basket
When deciding on a proofing basket, the material is a factor that can significantly influence the likelihood of your dough sticking. The two most common materials used in the production of banneton baskets are cane and wood pulp. Both materials have their pros and cons related to preventing dough stickiness.
Cane is the traditional material used in crafting bannetons due to its ability to absorb moisture and provide a slightly humid environment for dough proofing. However, if not properly maintained, cane can absorb too much moisture, leading to sticky dough and potential mildew issues.
On the other hand, wood pulp bannetons have grown in popularity due to their lightweight nature and moisture-resistant properties. They are less likely to encourage sticking or mold growth, making them an excellent option for novice bakers who are yet to master the art of dough proofing.
Regardless of the material chosen, remember to dust your banneton adequately with flour and keep it clean and dry to enhance its performance and increase its lifespan.
How to Season a New Proofing Basket
Seasoning, or priming, a new proofing basket is a step that should not be overlooked. This process helps to create a non-stick surface that will facilitate easy removal of your bread dough after proofing.
The seasoning process involves dusting your new banneton with flour, then placing a slightly damp cloth over it. Leave it for a day or two, allowing the basket to absorb the moisture and flour. This creates a protective layer that helps prevent dough sticking.
Rice flour is often the preferred choice for seasoning due to its high starch content. Its fine texture creates a smooth surface inside your banneton, discouraging dough from sticking to the sides. Regular seasoning before each use primes your banneton, ensuring a stick-free proofing experience.
Conclusion
The role of a proofing basket in baking cannot be overstated. It provides an ideal environment for your dough to rise, shaping it for baking and adding a beautiful texture to the crust. However, the challenge encountered by many bakers is dough sticking to the banneton basket.
In this guide, we’ve explored how to address this issue by choosing a suitable proofing basket material, using a liner, maintaining optimum proofing conditions, regular maintenance and proper flour dusting. By following these tips, you’ll be well on your way to baking delicious, professional-looking loaves of bread at home.
Remember that baking is both a science and an art. It takes practice, patience, and a bit of experimentation to get it right. So don’t be discouraged if your bread doesn’t turn out perfect the first time. Keep trying, keep learning, and soon enough, the art of proofing bread will become second nature to you. Happy baking!